
Creating Videos in HTML/CSS for Fun and Profit
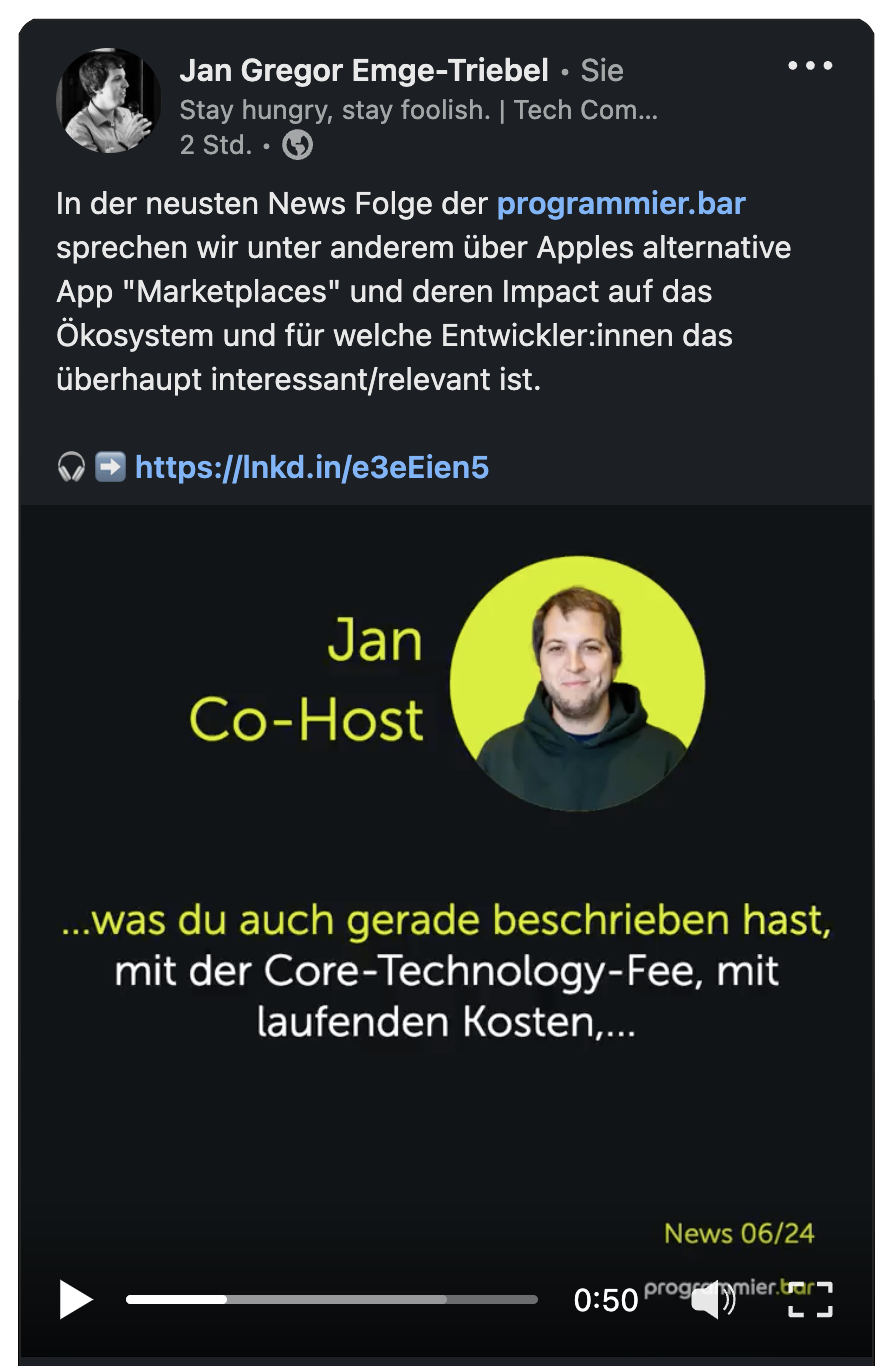
If you follow me on LinkedIn you might have seen that, recently I started posting video excerpts from our programmier.bar podcast to give people a better understanding of what it is we are talking about without them having to listen to a complete episode right away.
Fun
Given the lazy web developer that I am, these videos were of course created in HTML/CSS (with a pinch of TypeScript) because when all you have is a hammer, every problem looks like a nail. Plus, I wanted to try out a few new things.
I figured, this might be of interest, so let me pull back the curtain on how we built this:
What we need to achieve
Given a podcast episode’s mp3 file, I would like to …
- provide some metadata (speaker name and photo, episode title, etc.)
- splice it from a
timestampAtotimestampB - generate a transcript
- bundle all of this into a new video
The Architecture
Because I really just wanted to prototype something quickly, I chose Deno as the programming language to tie this all together. Deno is great - in my humble opinion it is better than NodeJs because it takes care of a lot of the build process and process isolation and provides default storage, queues, deployments, etc - while still using TypeScript.
I also chose to make this a small CLI tool so that I would not have to care much about design - (which I am not good at, to say the least). Hence I went with the commander package.
Step 1: Metadata
Providing all the metadata via the CLI is pretty straightforward. I use a mix of select (basically dropdowns) and input (basically text fields) prompts that are all handled by the cliffy Deno package. (In fact, it brings a lot more capabilities to the table, for now, I only needed the user prompting).
All of the metadata is then stored in Deno’s native key/value store.
Step 2: Splicing
There are some packages available on npm that offer mp3-cutting functionality. However, many of these simply use
ffmpeg under the hood. So I decided to forgo another dependency and use ffmpeg directly.
The Deno.Command API makes it pretty straightforward to create a child process.
And then all you need to do is, run the right ffmpeg command - such as ffmpeg -i file.mp3 -ss 10 -to 20 output.mp3 -
to create a 10-second clip.
Step 3: Transcript
For the programmier.bar website we already experimented with several speech-to-text APIs to generate our podcast transcripts.
For now, my recommendation is to simply go with OpenAI’s Whisper,
as it has the best pricing/performance ratio (though your mileage may vary).
The API usage is pretty straightforward, we simply post our spliced mp3 file via fetch and receive the transcript as a response.
Two limitations are worth pointing out here:
- Whisper currently only supports uploading files up to 25 MB
- Whisper does not (currently) support speaker recognition (“diarization”) - if that is something you need, you might want to look into other services (Google, AWS, …)
Step4: Generating the Video
Now, what is a video? A video is the combination of an audio track with a sequence of images or “frames”. We have already taken care of our audio track - but what about the frames? For the next step, we need to generate the frames. And at a constant 30 frames per second, we need quite a lot of them.
The initial idea was to use HTML and CSS and simply “render” the output as an image. Libraries like satori allow us to render HTML straight to PNG - and are blazing fast too, because no browser, requests, etc is involved. This - together with some caching - allowed me to generate the hundreds or thousands of frames required in a few seconds.
To streamline the HTML generation I decided to use a templating engine. Ideally, I would want to use twig (because I know it by heart) or use some of the technology underlying one of Deno’s many web frameworks. Given that this was a prototype, however, I decided to go ahead and simply use Eta - it is lightweight but powerful enough for our use case - and most importantly, battle-proven and well-documented.
But (and you knew there was a but coming), given that these packages have to implement (at least parts) of a browser rendering engine, there is always something off in their rendering - or you start facing odd limitations (e.g. satori can only render from JSX and requires the use of flexbox for everything).
So eventually, I decided to abandon the “straight from HTML/string to image” approach in favor of something more traditional.
(Nevertheless, kudos to satori for accomplishing this feat - and I can imagine that for smaller rendering tasks this is the best way to go).
Using puppeteer, we now use the generated HTML, load it into an actual (headless) browser, and make a screenshot
(For this, I would recommend, using PNG as an output format for less compression artifacts and a deviceScaleFactor of 2).
Even with the same caching smarts added, this approach takes an order of magnitude longer to generate all the frames. It is not quite real-time, but almost - taking roughly ~45 seconds for a 60-second clip.
Finally, we need to merge all the frames and the audio track into one video file. For this, again, we use ffmpeg
and the Deno.Command API:
ffmpeg -framerate 30 -i output_%04d.png -i audio.mp3 -c:v libx264 -crf 15 -c:a aac -strict experimental -b:a 192k -shortest video.mp4.
Et voila, we have our finished video, ready to be shared across social media.
Profit
Now, so much about all the “fun” part. The question remains: is it worth it? Absolutely.
Even in our limited testing, we see that our posts that include video have quite a few impressions more than our traditional posts using static images or only text. And it makes sense, even today, video isn’t ubiquitous in many social networks (at least not the ones, we are most active on. If you’re a professional TikToker, you might disagree). So it is only natural for these posts to draw more attention, making this differentiation invaluable.
There is more to it, though. We had experimented with video before, but these videos were always created but our very talented colleagues in the video department. Their time is limited and their schedule is not always flexible. Now, however, this tool allows us to produce videos at almost no cost, and we can even adjust the graphics ourselves because it is all just HTML and CSS under the hood.
TL;DR
This solution is not only effective and empowering but also economical.
Thank you for your time! I hope you’ve found this overview enlightening, whether it introduced you to Deno’s capabilities or simply entertained you.
P.S.: Interested in learning more or having me discuss this project at your event? Don’t hesitate to get in touch!